Craft | Leprechaun Hats
by Caroline Urdaneta, posted on March 12th, 2013 in Arts & Crafts, Kids DIY
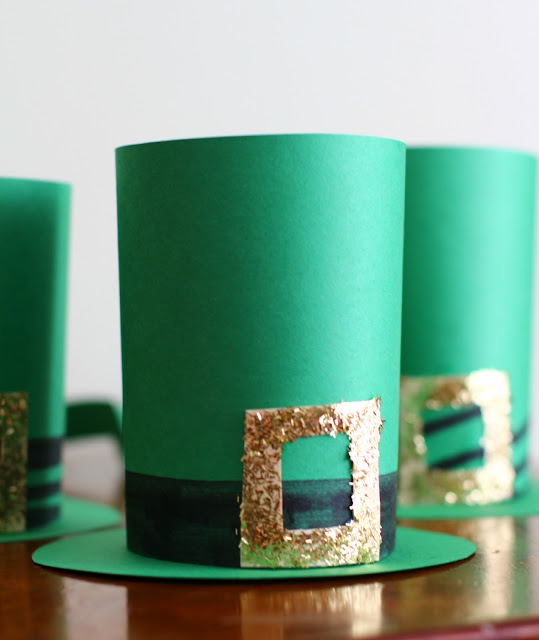
Ahhh! I love this time of the year when I can dream of pots of gold tucked away beneath lucky rainbows. Can you tell I like St. Patty’s Day? It’s such a fun day to tell tales of Leprechaun fairies in clover fields or to rummage through our homes looking for anything (anything!) green to wear! I also like to sprinkle my house with a little Leprechaun magic for the kiddos and today I’m sharing a craft with you that will help you do just that. We’re making Lucky Leprechaun Hats!
Paper Leprechaun hats make festive party decor for St. Patricks Day and can be made using simply paper, glue and a little glitter. You can whip up as many of these as you wish in no-time. Inside the top of the “hat” you can hide surprises for your friends and family or maybe even a few “gold” coins!
To make these paper hats you’ll need:
Green Construction Paper
School Glue (such as Elmer’s)
A Glue Stick
Gold Glitter
Scissors
A cereal bowl (to trace)
Invisible Tape (optional)
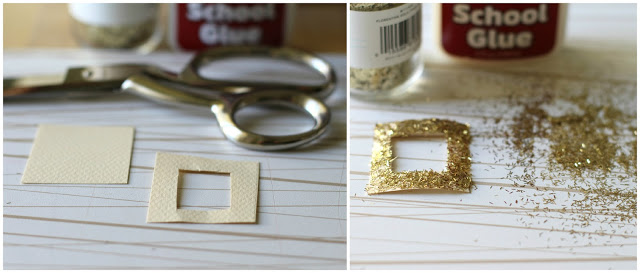

Step 1
Start making your buckle first so the glue for the glitter will be drying while you make the rest of your hat. To make your buckle, cut out a rectangle about 3 x 2 inches. Inside your rectangle cut-out another rectangle to form a hollowed-out buckle shape. Cover the buckle in school glue then sprinkle on gold glitter. Shake the excess glitter off the buckle and allow to dry.
Step 2
To make the top part of your Leprechaun hat simply cut down the center of a piece of green construction paper widthwise forming two long rectangles.
Step 3
To draw your belt on the bottom of your newly cut rectangles, use a black marker. Get creative when you draw your belt using stripes or zig-zags to add interest and give personality to each hat.
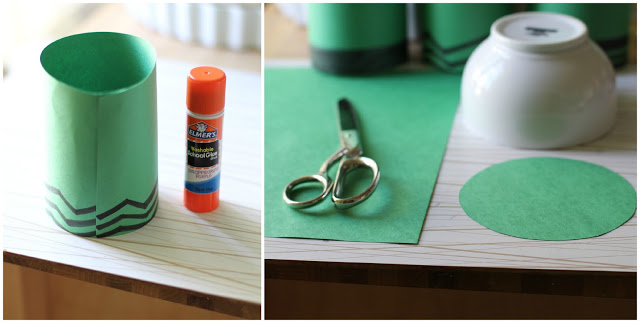
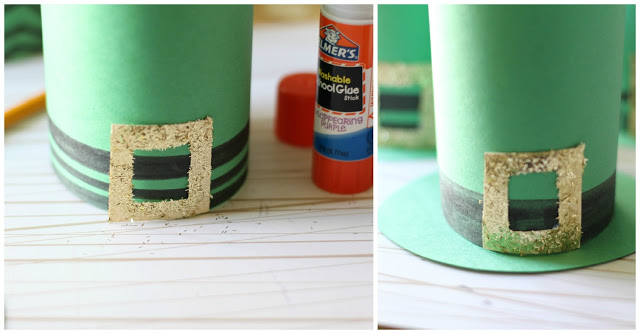
Step 4
Form a cylinder by adhering the ends of the rectangle together using a glue stick. Press together for about a minute with your fingers running your hands along the seam until a good hold forms.
Step 5
To form the base of your hat, use something circular and trace a circle onto your green construction paper. A cereal bowl is the perfect size for this. Trace a circle and cut it out.
Step 6
Use school glue to affix the buckle to the cylinder top part of the hat gluing it onto the “belt”. Next, place the the top part of the hat on the circle and leave as is (no glue or tape needed just to use as decoration) or use invisible (clear tape like Scotch tape) to affix the top part of the hat to the circle at the base from the inside of the cylinder of the top part of the hat, then hide lucky treats inside.
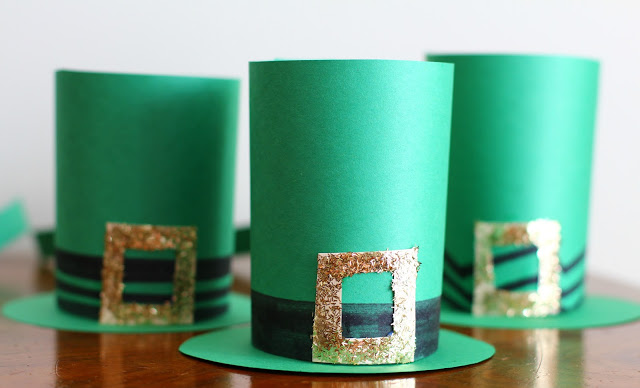
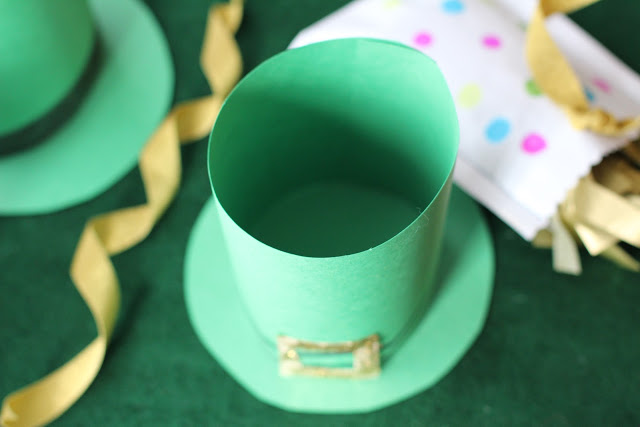
You are finished! Your hat is ready and you can now decorate your table, mantle or any corner of your house for St. Patrick’s Day!

