Halloween Straw Toppers
by Caroline Urdaneta, posted on October 9th, 2012 in Arts & Crafts, Halloween, Kids DIY, Parties & Celebrations
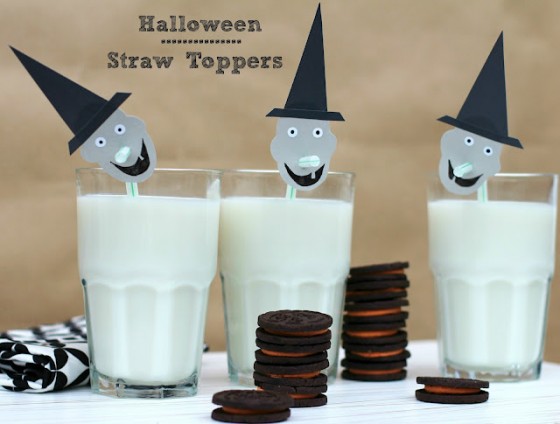
If your kids are anything like mine, they probably go bananas over straws. In fact, straws have such magical powers over my crew that even a boring glass of milk is suddenly transformed into something radical when I plop a straw inside! Can anything top that? Well, actually there is something that can top that and it happens to be called a Topper.
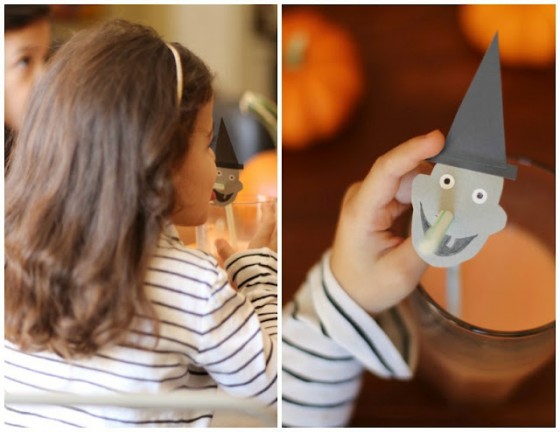
Straw toppers are showing up everywhere these days from magazines to Pinterest. This simple little detail can make any milkshake more festive in seconds. Today I’d like to show you how you can make your own Halloween straw toppers using colored paper and a paper hole puncher. It’s a craft so easy that even your kids can make it. In fact, in my tutorial I’ll show you how I made the toppers then how my daughter made them too. It’s awesome when everyone can get involved!
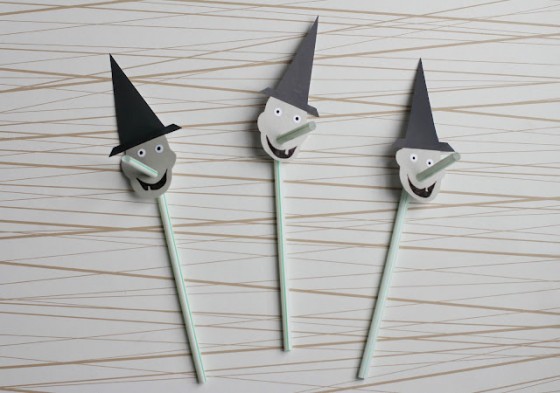
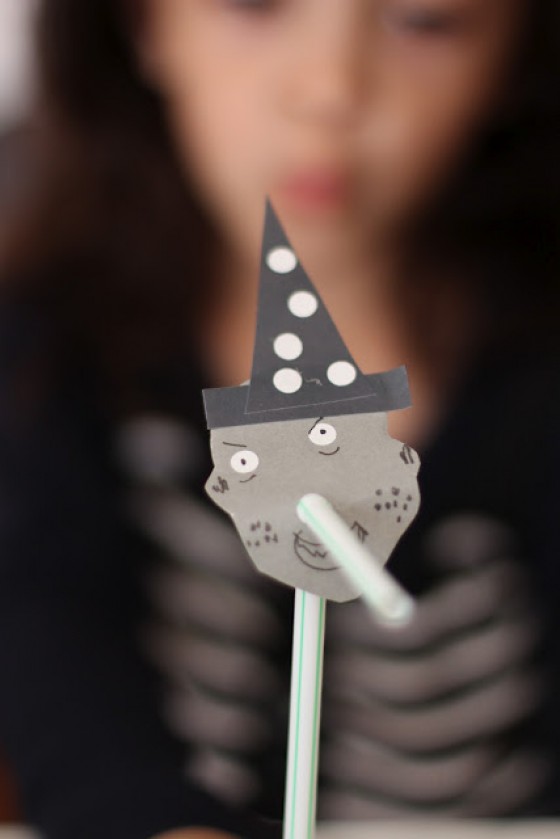
To get in a spooky mood for Halloween, we made little witch straw toppers. Children enjoy making faces so I didn’t just want to make a hat. Just as a tip, anytime you can include making a face into a craft, it’s always a winner with children.
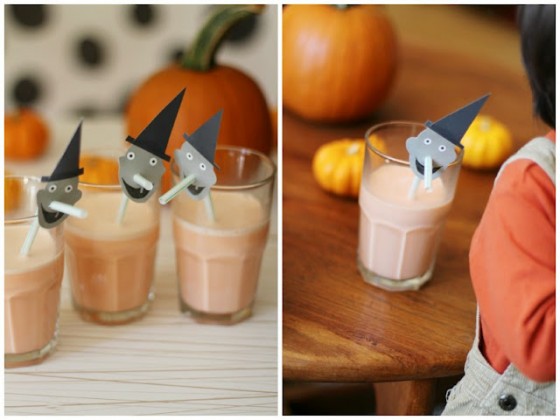
Ready to get started? Here we go!
Materials Needed:
Paper Hole Puncher
Colored Paper (we used gray, black and white scrapbooking-type paper you can find in any craft store)
Glue Stick
Scissors
Straws
Ink Pen
The Tutorial for Parents:
Okay. So. I waited until the kids were asleep to make these and then the next day I showed the kids my project and worked with them so they could craft their own. Here’s what I did:
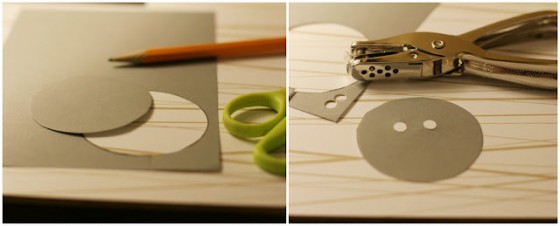
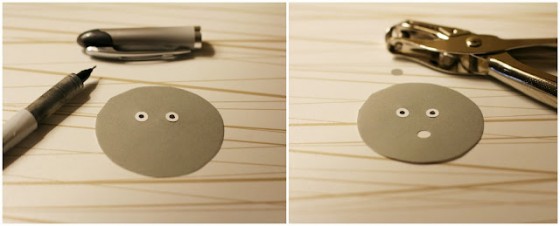
Step 1
Trace about a 4″ diameter circle onto your gray paper and cut it out. You will be trimming this circle into the shape of a face later so no worries if it isn’t perfectly round.
Step 2
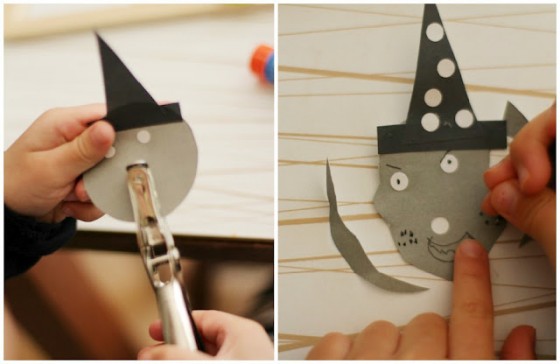
Using your hole puncher, punch out two spots on white paper or if your gray paper is white on the back you can punch it out from the gray paper and flip the punched out circles over. Gather the punched out circles from the cage of your hole puncher and glue them on as eyes onto your circle. *Tip When you set the craft up for the kids, you can punch a bunch of holes in advance for smaller children.
Step 3
Using an ink pen, draw eyes (little dots) in the center of the white dots you’ve glued on.
Step 4
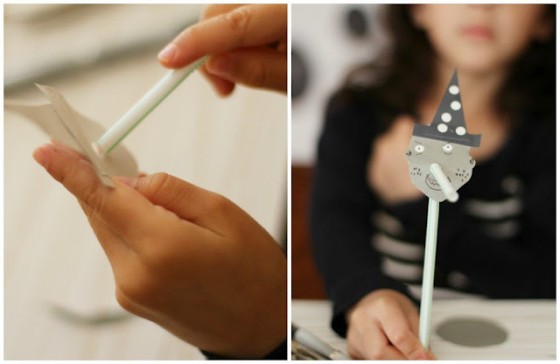
Using your hole puncher punch a hole in the center of your circle for the nose of the face. You will be inserting the straw into this hole as the nose for the face.
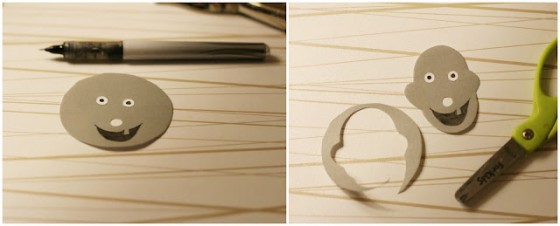

Step 5
Now that you’ve made your eyes and punched out a hole for the nose (where the straw will go) you can work on the mouth. Using your ink pen scribble a little witch mouth under the nose.
Step 6
Take your scissors and trim around the circle to form more of an oval. You can add ears like I did and even have fun making the chin all funny and pointy if you want!
Step 7
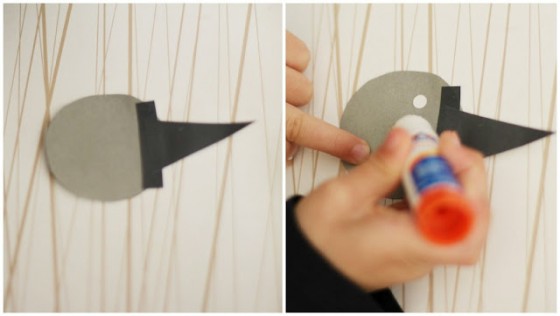
Next cut out your hat. Your hat will be formed from a skinny little rectangle and a triangle.
Step 8
Glue the triangle on top of the rectangle with your glue stick and you’ve crafted your hat!
Step 9
Lastly, glue the little hats onto the faces and you’ve just made a straw topper!
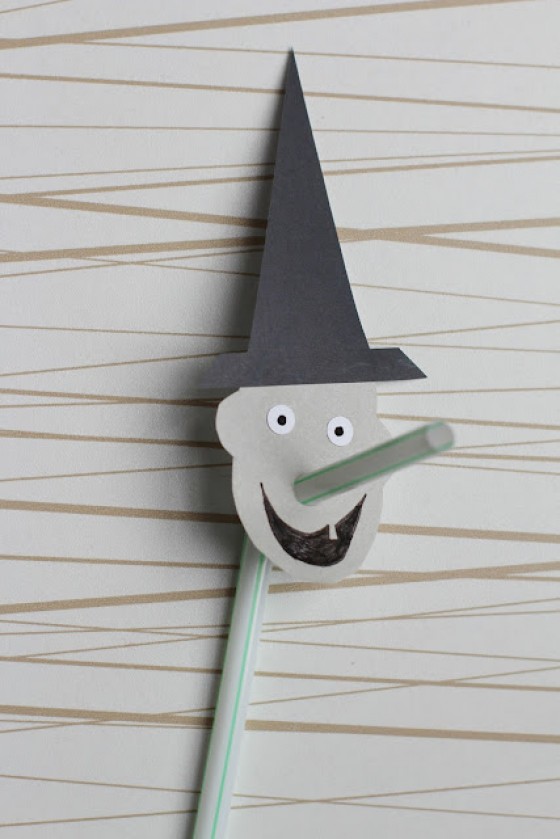
Now, have your child repeat these steps just like so:
Job well done! Your craft is complete and you can get ready to “Double, double toil and trouble” with a fun smoothie and a super cool straw topper!
