Snow Globe Science: Arctic Animals
by Deborah Harju, posted on January 6th, 2015 in Art School, Play + Learn, Science Fun
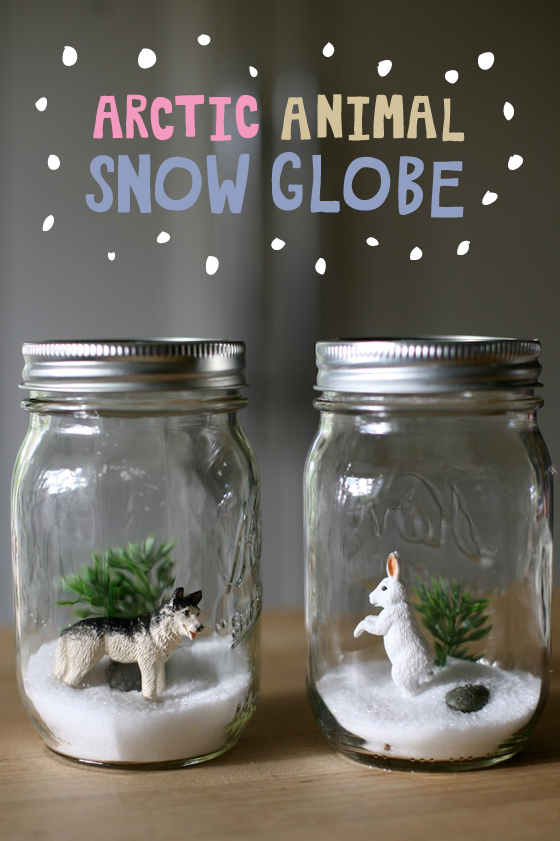
Do you ever find yourself looking at Pinterest, when something makes you pause that scrolling finger and say, “Hey, I think I could actually make that!” And you know it wouldn’t end up a disaster and might even resemble the inspiration photo? That happened with this fun project, and I decided it would make a great art and science lesson.
My inspiration came from here. I would recommend this activity for a wide variety of ages (e.g. preschool through elementary). Adjust the level of research and involvement in making the winter scene based on your child’s age.
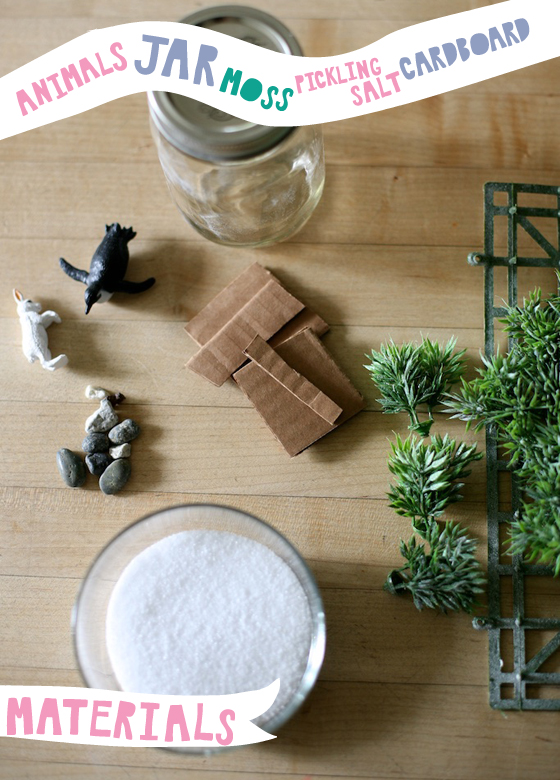
You’ll Need:
Toy figures – arctic animals
Wide mouthed glass jars (recycled jam or mason jars work great)
Greenery – moss or plastic trees and shrubbery
Rocks or pebbles
Pickling salt
Scrap pieces of cardboard
Hot glue gun
Step 1 – Research
Arctic animals are great subjects this time of year. Start by checking out books from your library and learning about the animals that are found at our two poles. Or research animals that are found in your region this time of year.
Here are some questions to investigate:
– how do these animals hunt during winter?
– do they store fat for this time of year?
– does their coat change color to help them blend in with their winter surroundings?
Step 2 – Create Your Snow Globe
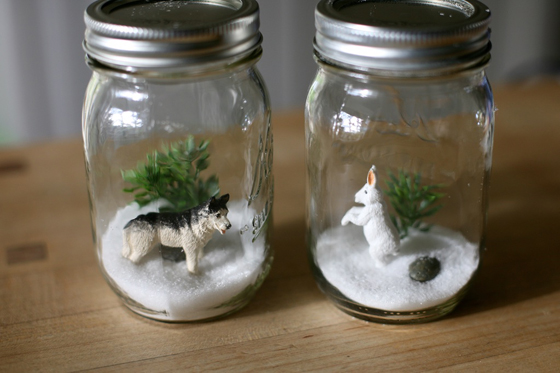
Make sure that your figurine can easily be placed inside the mouth of your jar and isn’t too large. Cut up some cardboard into small pieces that can be layered to give your scene height within the jar.
I found some fake looking trees and spray painted them lightly with a misty coat of white primer to give them a snowy appearance, but you can skip the greenery if isn’t applicable to your animal.
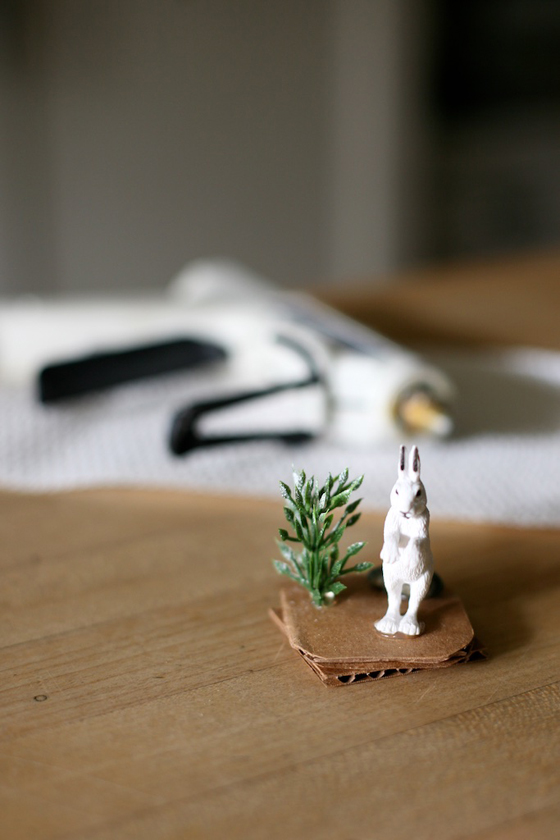
Using a hot glue gun, glue the pieces of cardboard onto each other, and then glue them to the bottom of the jar as well. If you can glue everything to your cardboard all at once and are then able to fit it into the jar, that’s even better. If you decide you want a rock in the scene, glue that down as well.
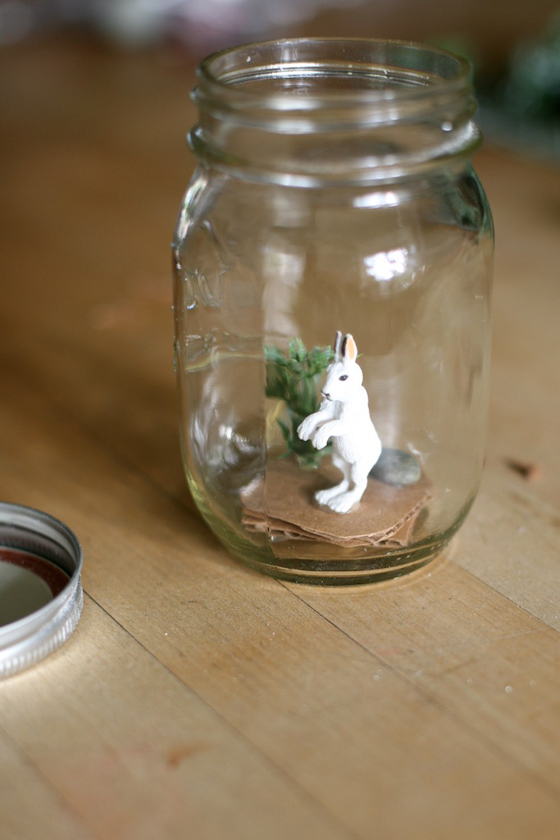
Once everything is secured with hot glue, start pouring the pickling salt into the jar. If you overfill, just tilt it upside down and empty out some salt. Once you’ve covered the cardboard and maybe part of your figurine’s feet, voila! Your winter scene is complete and ready for display on your mantel or shelf.
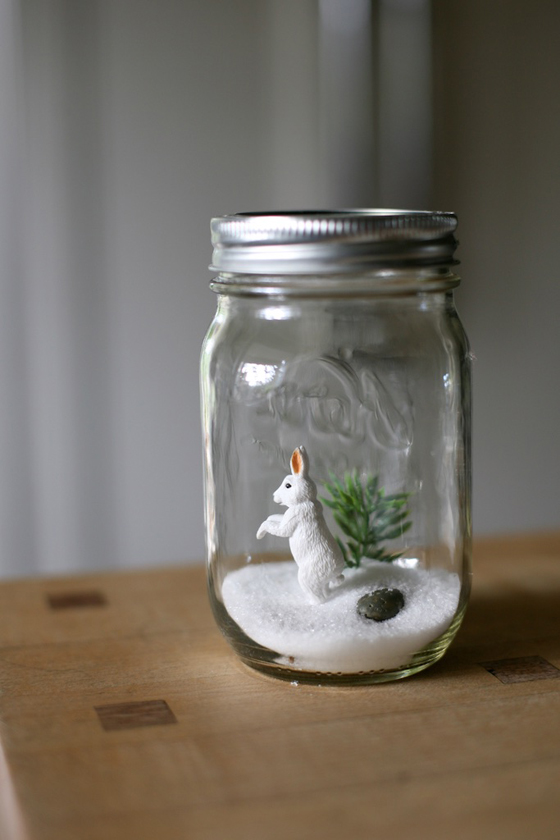
Final Thoughts
I did this activity with my daughter’s entire third grade class, and every single one of the scenes came out so unique and beautiful. We had a few parents man the hot glue guns, but the kids took ownership of their animal, the items they wanted to include, the amount of snow, and the exact placement of each piece. When we came home that day my fifth grader insisted on making one too! They have them displayed on their bookshelves and are a treasure I know will be around for awhile.
More art + science lessons…
– let’s learn about bodies
– artful skeletons
– musical colors


