Family Ties | Paper Daffodil Wreath
by M.J., posted on March 25th, 2014 in Arts & Crafts, Family Ties
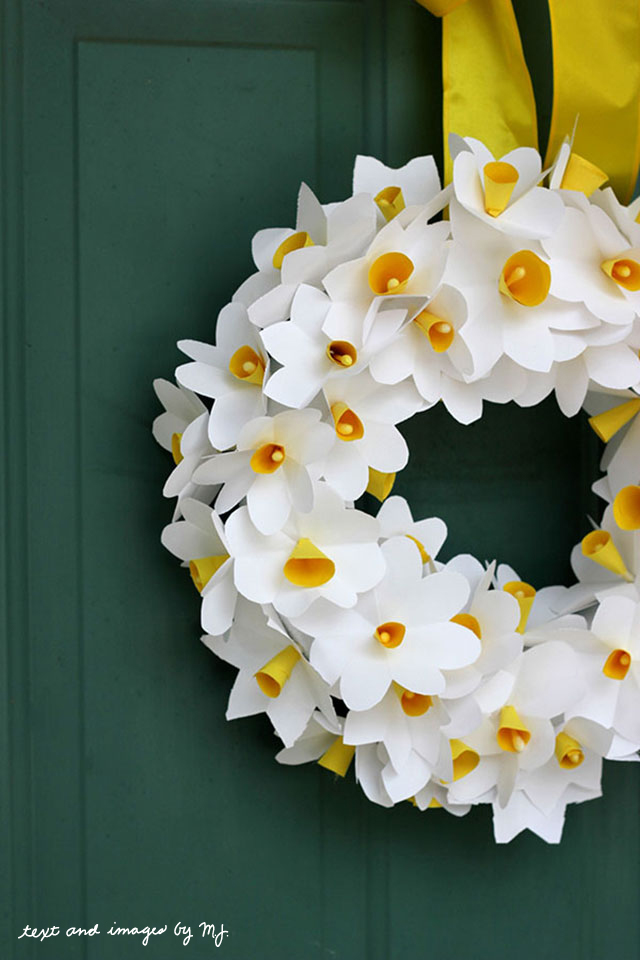
Happy Spring! I don’t know what’s been going on around your house lately, but around these parts, we are itching for warmth and sunshine, and we’ve self-diagnosed a bad case of spring fever. With snow still on the ground and temperatures continuing to dip below freezing, we’ve had to create our own ways of welcoming the new season.
And few things say welcome spring then the loveliness of glorious bulbs! And though our real versions of these beauties have yet to break through the ground, we decided we could pretend with some paper flowers to add color.
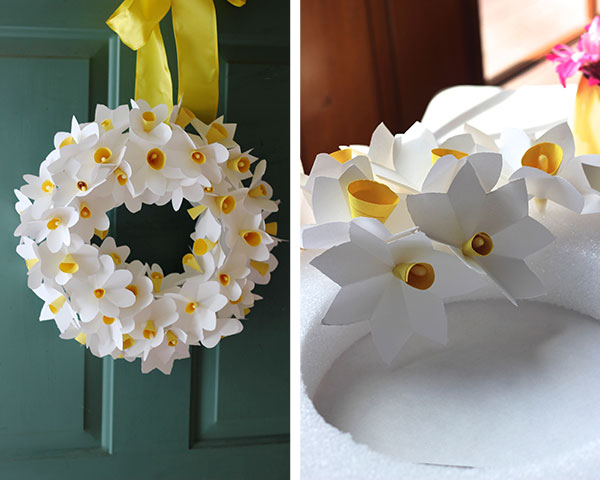
My children and I made these easy paper daffodils from some white and yellow paper, cotton swabs, and yellow food coloring. Let me take you through these simple steps so you can fool yourself into the joy of spring, too.
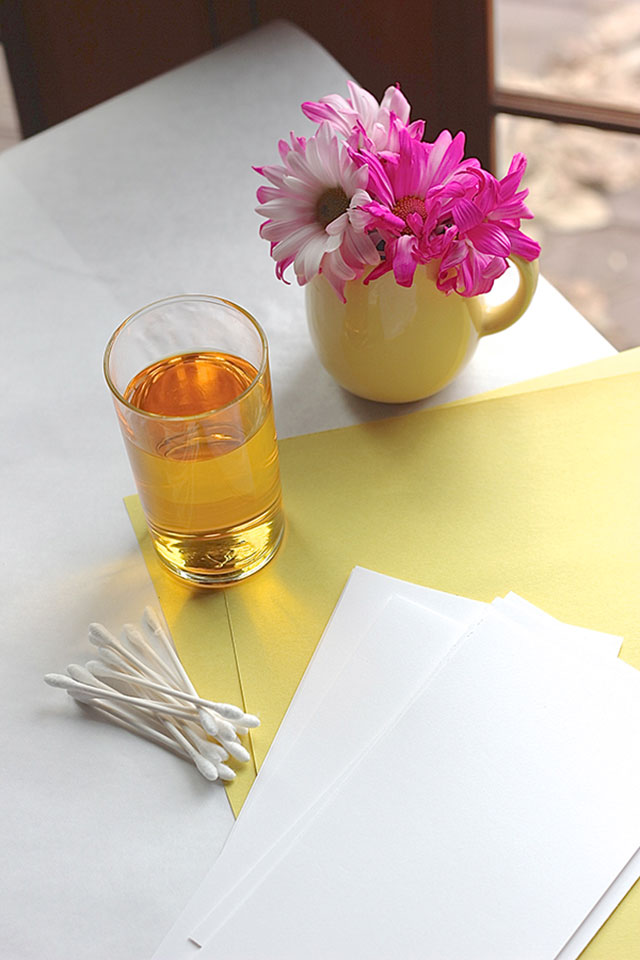
Mix a small glass of water with some yellow food coloring. Grab your cotton swabs, trim off one swabbed end, and dip and dunk them into the yellow dye. This step is not necessary (you can paint or color these with a permanent marker), but we are in full-on Easter mode so coloring with these dyes felt just right.
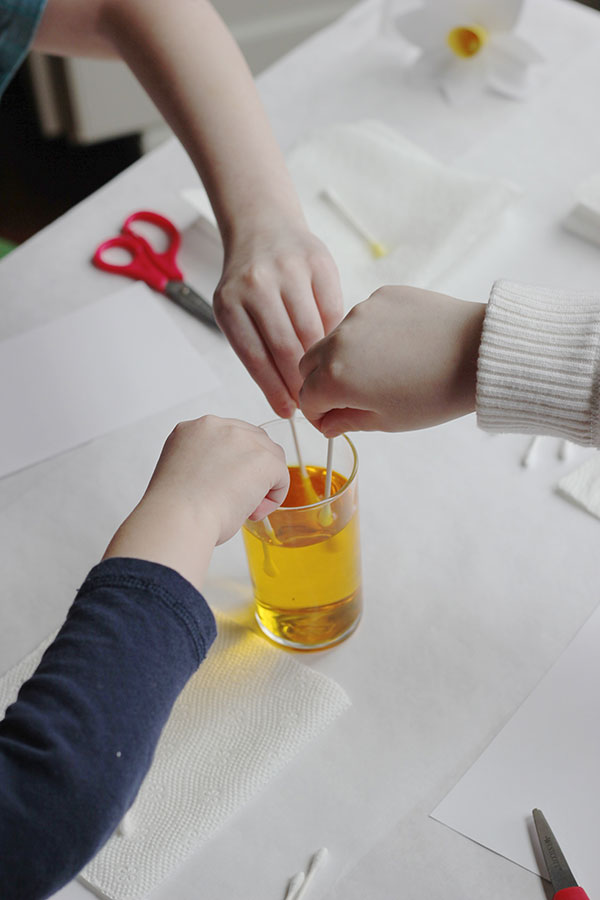
Let those dry on a paper towel while you craft the petals. The process for these is super similar to that of folding a paper snowflake. You want to create from a square piece of paper so fold over a right triangle and trim the excess to form.
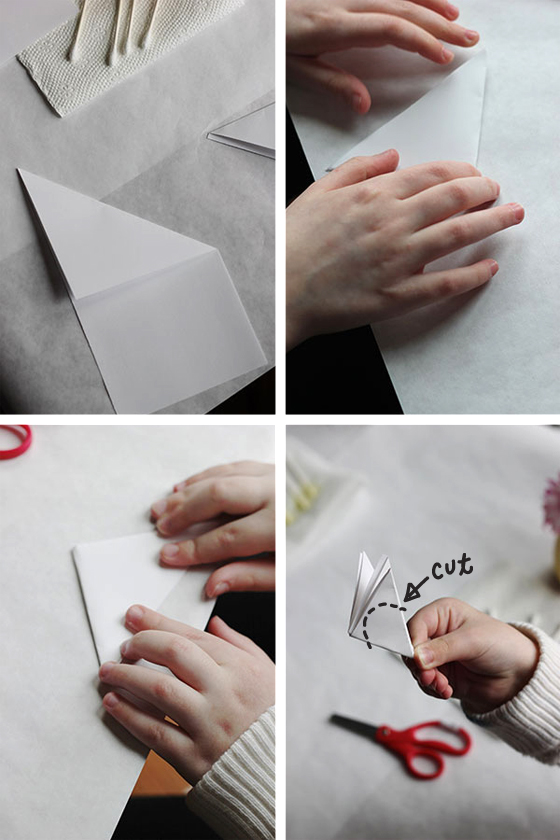
Fold that large triangle in half. And then fold it in half again. Your triangle should look something like the one on the right below. Hold it with the end that is connected to the main fold.
Next cut out your petal shape, making sure to only cut along the two open sides. You can follow the ‘cut line’ in the bottom right image, but creativity is highly encouraged. Some of our daffodils had pointed petals and some very round ones.
Unfold your flower! Next up, create a smaller circle with the yellow paper and shape it into a cone. Secure with glue or tape.
Using a sharp pencil or the colored cotton swabs, poke a small hole in the center of your flower. Push the cone tip through the hole and insert the yellow swab into the center of the yellow cone. Secure the flower parts with tape around the stick of the cotton swab.
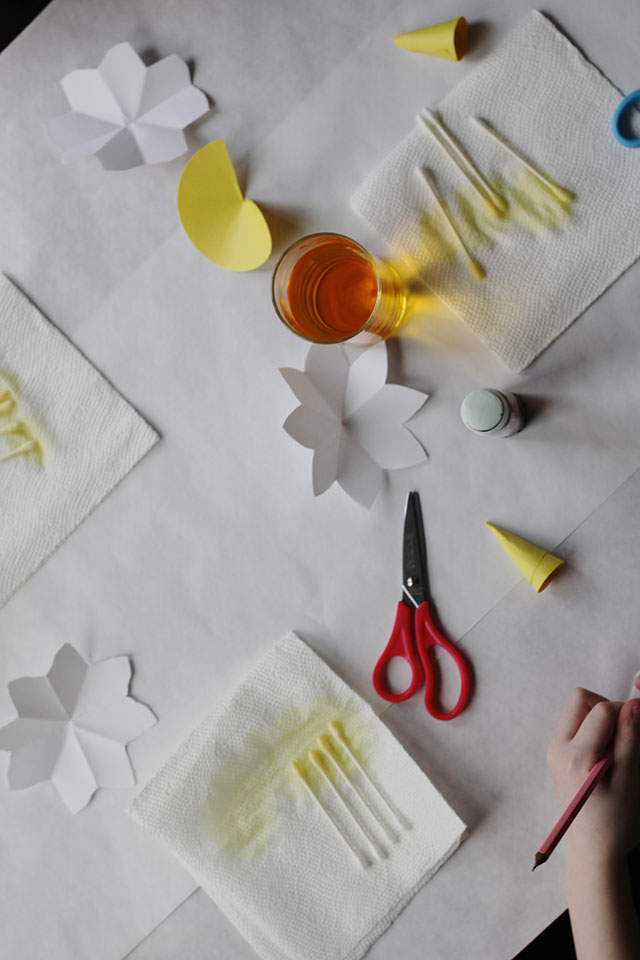
My team got really into this process, and quickly after each child had completed a daffodil on their own, they naturally formed an assembly line to make more. L, my youngest, wanted the fun job of dipping the cotton swabs so he mass produced those!! C really enjoyed cutting out the flower petals and getting to unveil the finished flower. M wanted the challenge of twisting the yellow paper into cones and assembling the final product. They spent about 90 minutes making and making flowers.
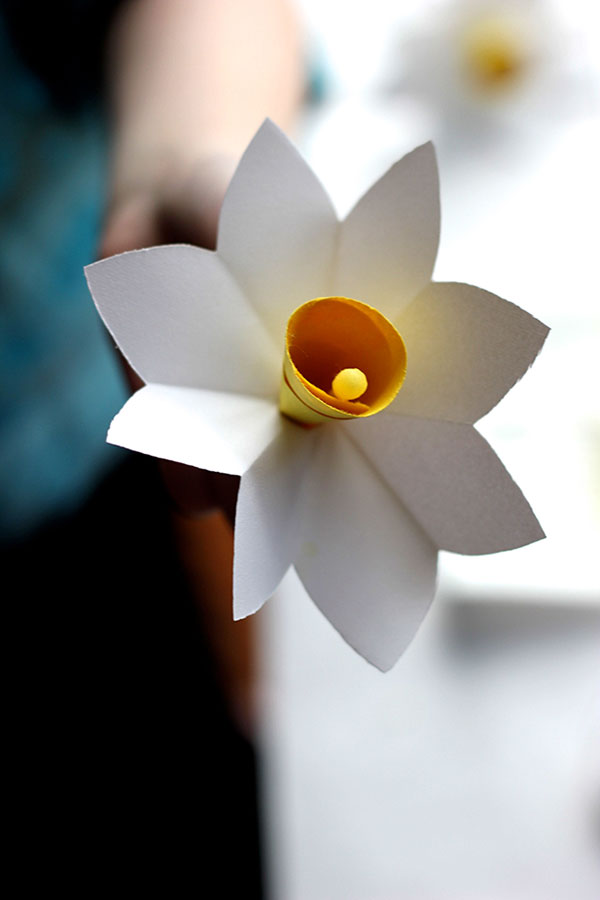
We decided that with all these “fresh” flowers we needed to make something bigger. With the help of a simple styrofoam wreath, we pushed the pointy end of the flower into the circle shape. With the handiwork of their time, we were able to cover half of the wreath, and I spent another hour making the bulk of the second half.
Use these as single stems, chain them together for a banner of daffodils, or poke them into a wreath for a bright spring greeting to your neighbors.
