Art School | Fall of the Leaf
by Deborah Harju, posted on September 25th, 2012 in Art School
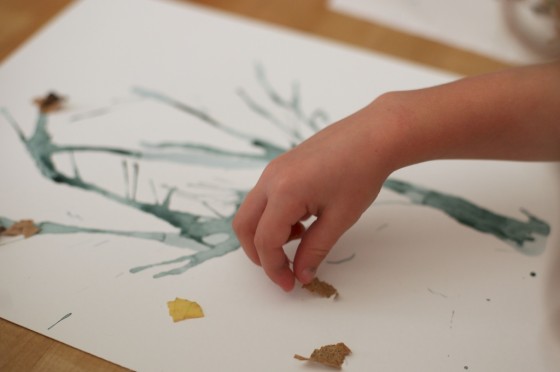
On all the blogs I follow I have been reading all about the first signs of fall popping up around the country lately. Sadly, there are not really any signs where I live in Southern California, but I will live vicariously through all of you. With fall officially beginning on September 22 this year I thought it only appropriate to start with an introduction to autumn art lesson.
The autumn season is going to be our focus today. It’s a beautifully simple art lesson that is not your typical watercolor project. This one is multi-dimensional, and the final piece is breathtaking.
Let’s begin with a little lesson on the gorgeous fall or autumn season. Here in the Northern Hemisphere it marks the transition from summer to winter in the month of September. Most depictions of autumn in art include harvest themes, pictures of fruits, vegetables and grain that ripen this time of year. An interesting little tidbit is that the term “fall” most likely is referring to the expression fall of the leaf.
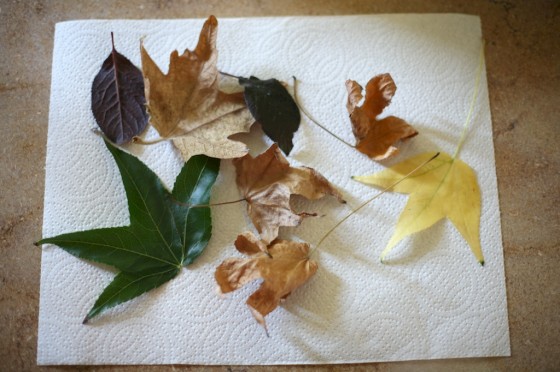
Fall of the leaf is exactly what our art lesson will depict today. Ahead of time you will want to have your child gather a few fallen leaves from outside. Variety of color and shape is great. It’s a nice activity to do after school one day or as a family walk in the evening. While doing this you can point out to your children that autumn is the time of year when most trees’ leaves change color, some turn to yellow or red, different oranges and brown. And once the leaves change color, the trees drop these leaves in preparation of winter and next year the trees’ new leaves will appear.
Supplies: Black watercolor liquid, watercolor paper, straw, white glue, dried leaves, bowl and spoon
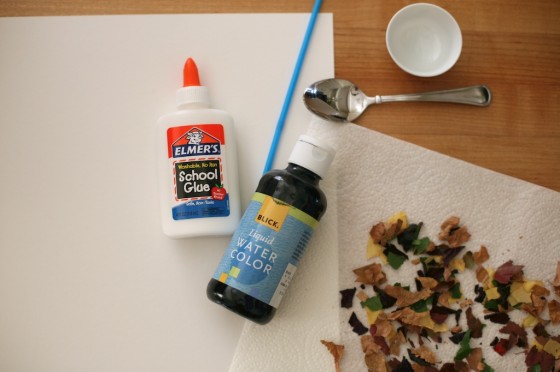
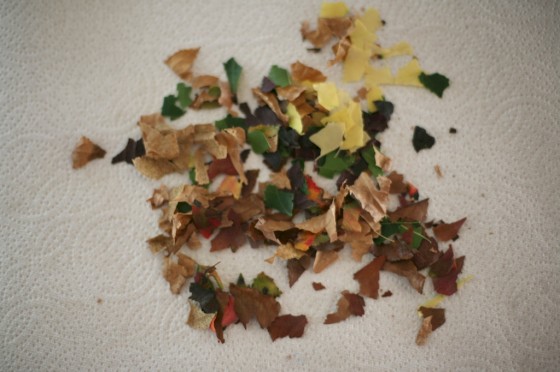
If moist, dry your leaves by placing them on paper towels or inside near a window. Once dry you will want to rip up the leaves up into smaller pieces about the size of your thumbnail, and then set those aside.
To start, make sure your watercolor paper is vertical on a flat surface. Pour a small amount of black watercolor in a small bowl. Using a spoon, either you or your child will want to pour a small amount (1 teaspoon approx.) of watercolor a few inches from the bottom edge of the paper, centered. This will begin the base of the tree trunk.
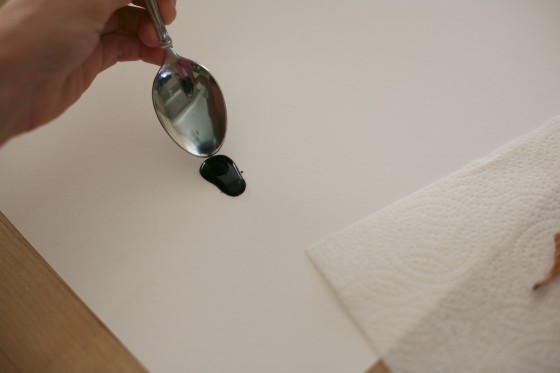
Next have your children angle their straw and begin to blow gently through the straw moving the watercolor up the paper, this will create the tree trunk and the branches of the tree.
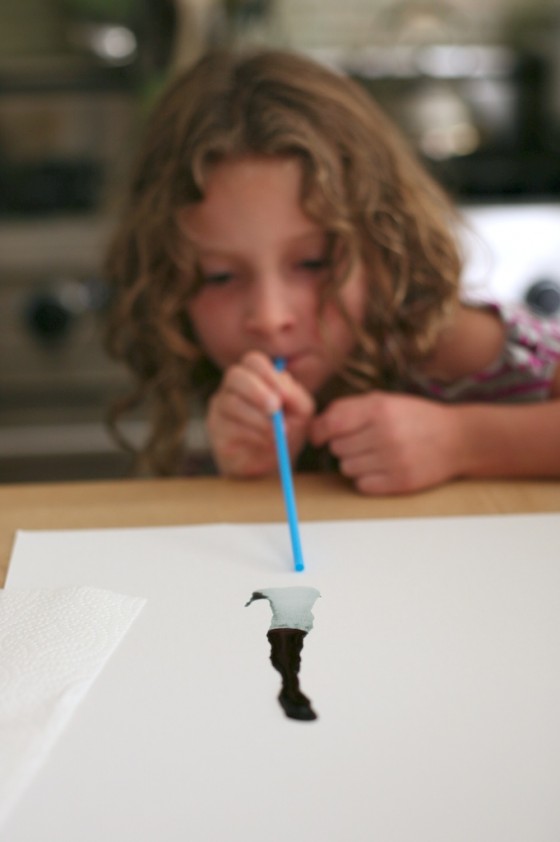
As the trunk is slowly formed they can move their straw around to create branches of all different lengths. If needed, you can add a drop of two more of watercolor. But for this lesson it’s good to keep in mind less is more.
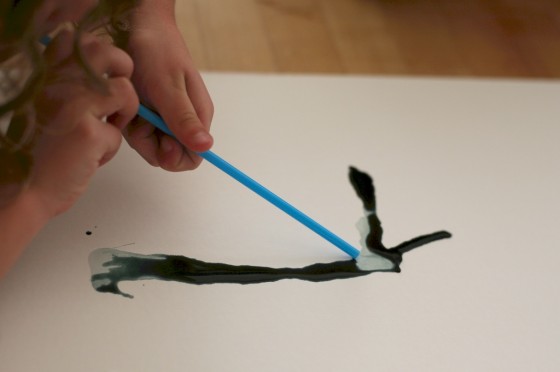
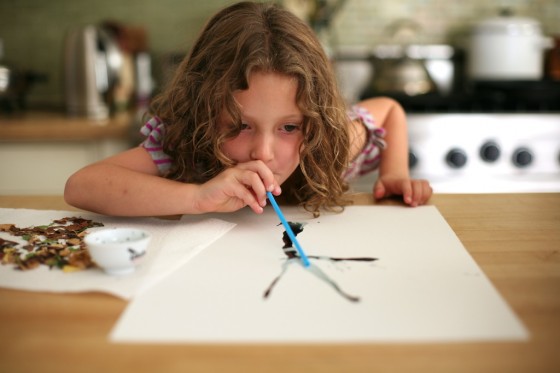
It should only take a few minutes to dry. It may look something resembling this.
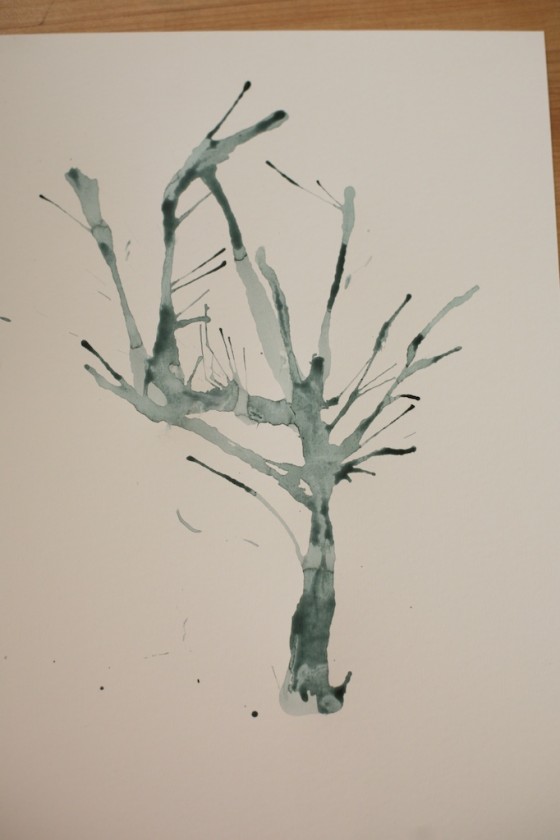
Once dry they can use white glue to secure their leaves onto the tree, some on the ground, some falling, whatever autumn depiction they would like. Set aside for the glue to dry before picking the piece up.
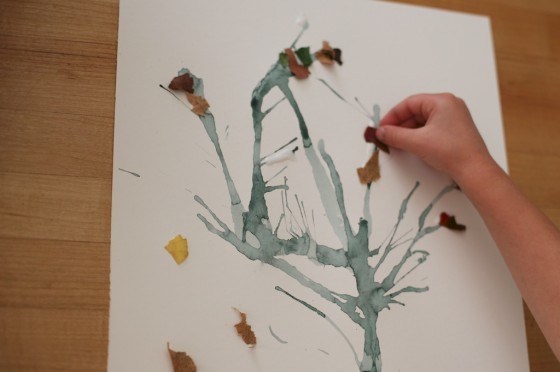
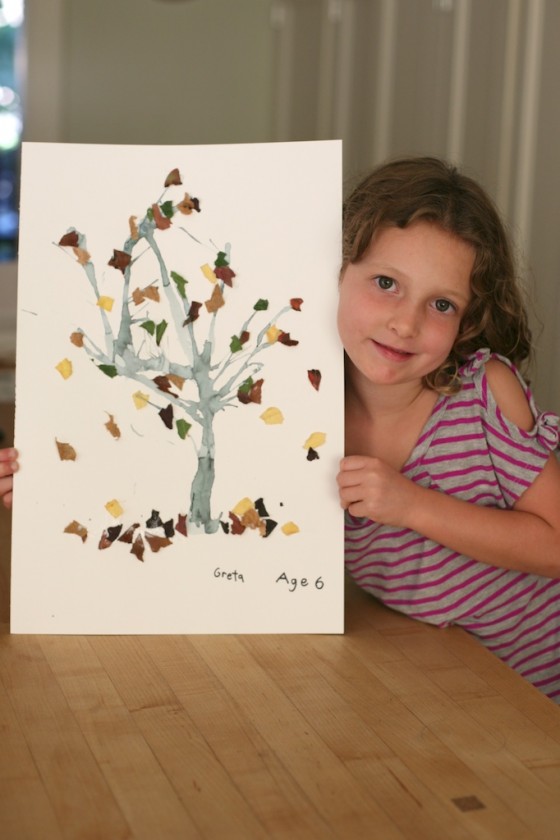
Once complete they will have a beautiful autumn piece of art depicting the fall of the leaf. Here is a finished piece by a first grader.
