Art School | Geometric Design with Islamic Art
by Deborah Harju, posted on August 28th, 2012 in Art School
Today we are going to create geometric art by looking at an ancient design that is dominated by geometric patterns, this is Islamic Art.
We will need to learn a few things first about Islam in general to understand why this type of art was focused on patterns versus people or portraits that we see in other areas of the art world. One reason patterns were so common is because many Muslims (those who practice Islamic religion) believed that depicting the human body was a sin. So portraits took awhile to make their appearance in Islamic Art. Instead of painting people, we find a lot of repetition of geometric shapes, patterns, and designs. Now geometry is a new vocabulary word for us, and one that you probably would not guess we would use in art. But geometry simply is the use of lines, points and angles. Math and art actually cross paths quite a bit, and this will be our first introduction to the concept.
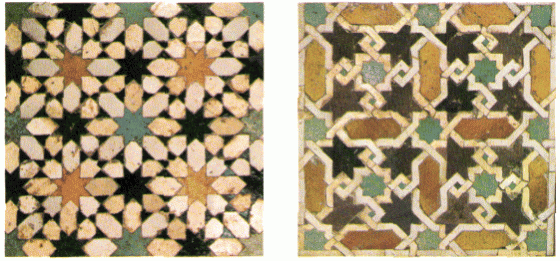
Take a look at some classic Islamic Art and try and look at the different shapes and angles, specifically the curves and how they repeat themselves.
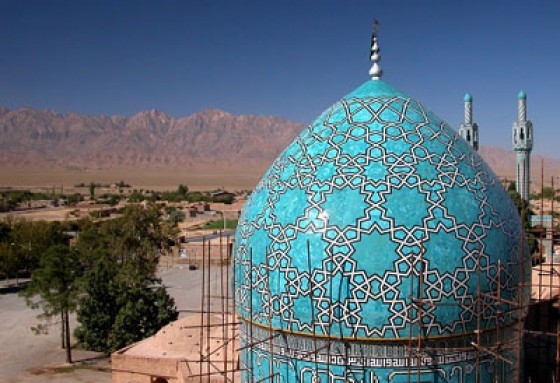
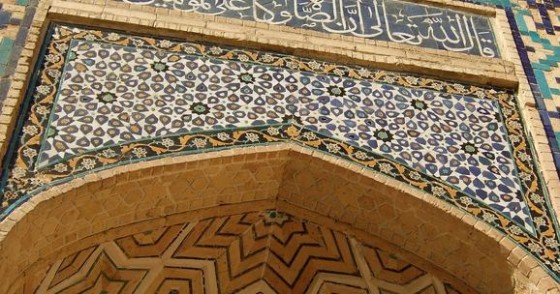
Here’s an example of geometric art on a building. Make sure your children take note of the shapes repeating and overlapping of each other.
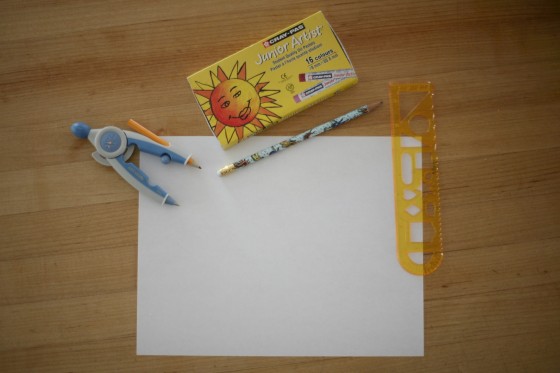
Using paper, pencil and a compass (yes, this geometry math tool will be one of our tolls today!) we will create our own geometric design.
Supplies: White drawing paper, pencil, compass, ruler, crayons or oil pastels
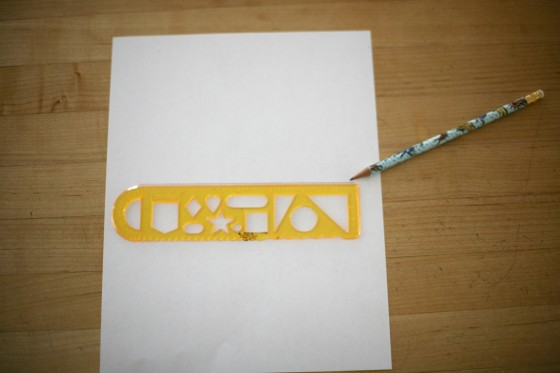
Have your child take their paper and place it vertical. Using a ruler, draw a horizontal line near the center of the paper.
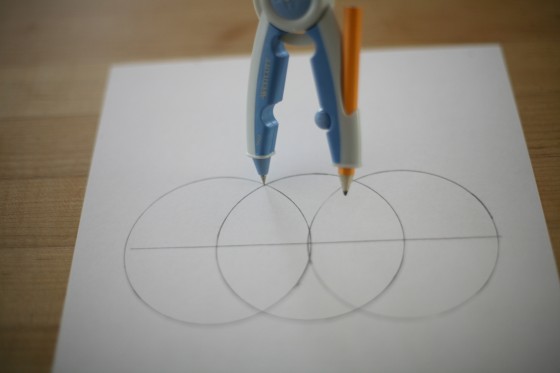
With the compass, create a circle near the center of the line. Be sure the compass does not move, or else all our circles will be different sizes.
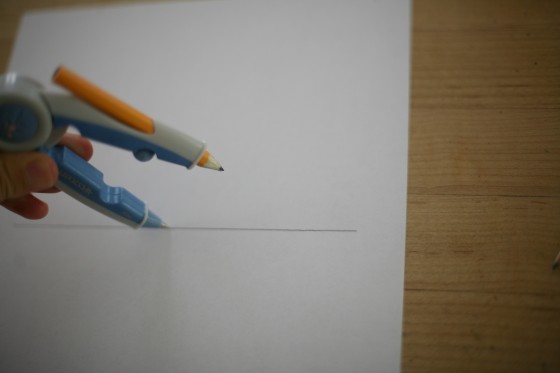
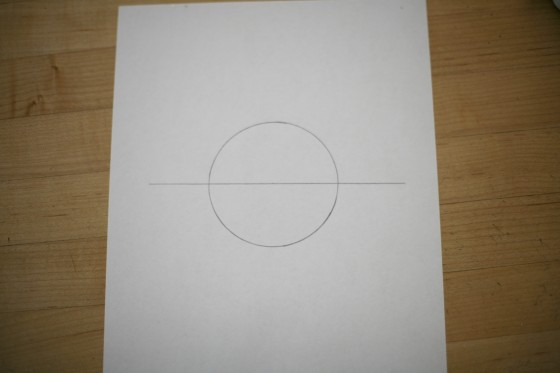
The edges of the circle that the intersected the line will now become the center of two more circles.
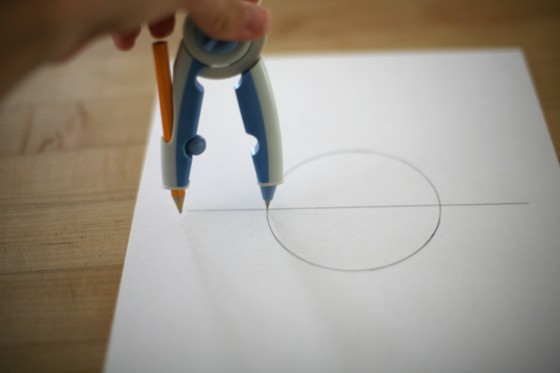
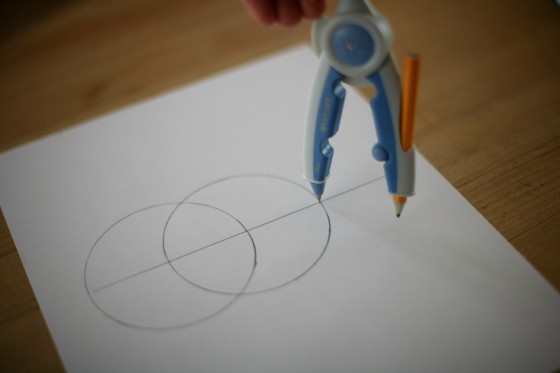
Now it should look like 3 overlapping circles on the line.
Where the two side circles overlapped the center circle, these will now be the center of two additional circles.
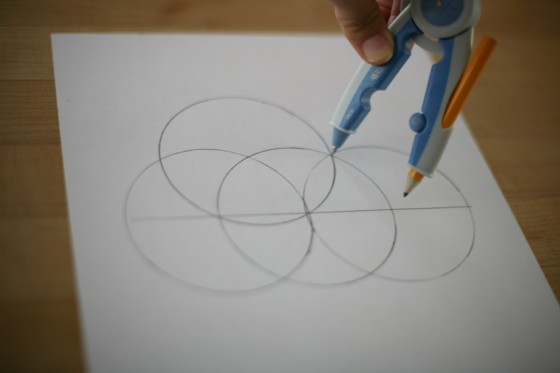
We are almost finished, your shape will look something like this.
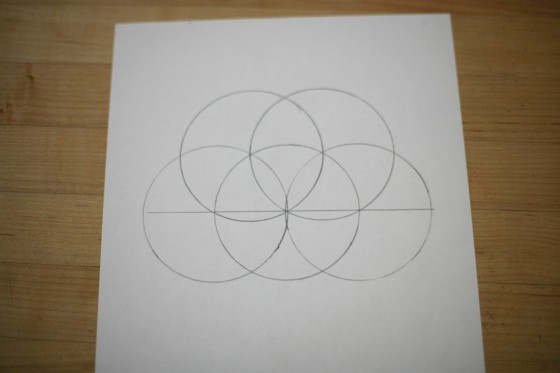
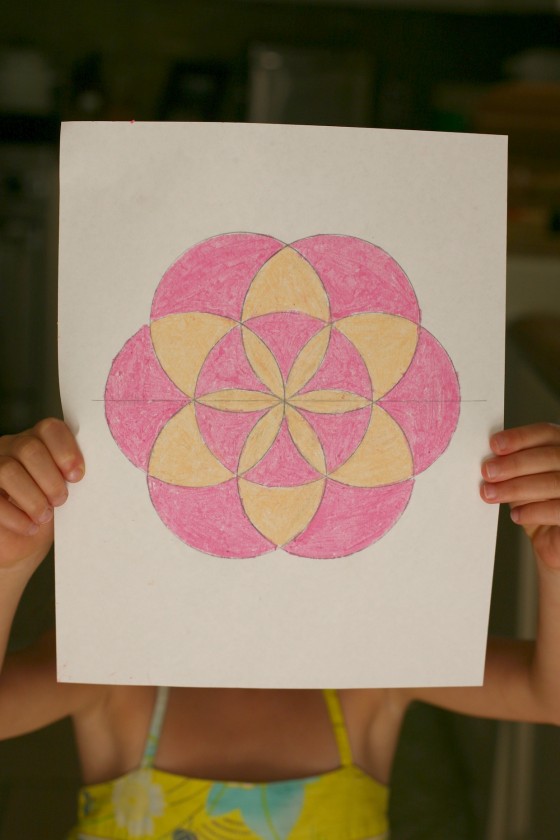
And using the two bottom points of intersection create two more circles, just like the two we created on top. Now we have just drawn 7 circles and the paper should look somewhat like this. Notice the creation of the rosette flower in the original center circle. If you’d like, you can erase the horizontal line in the center.
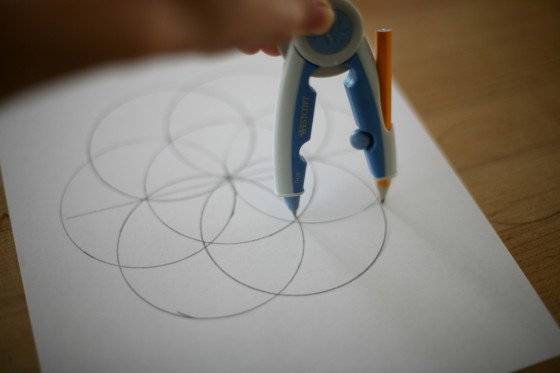
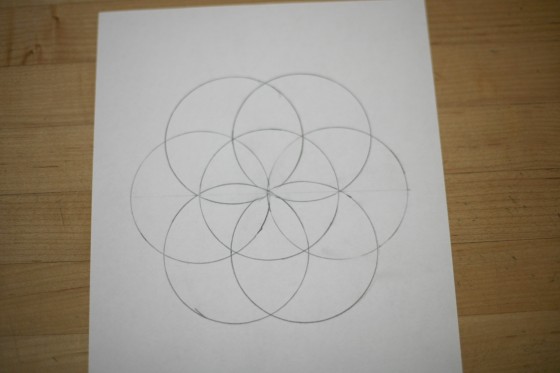
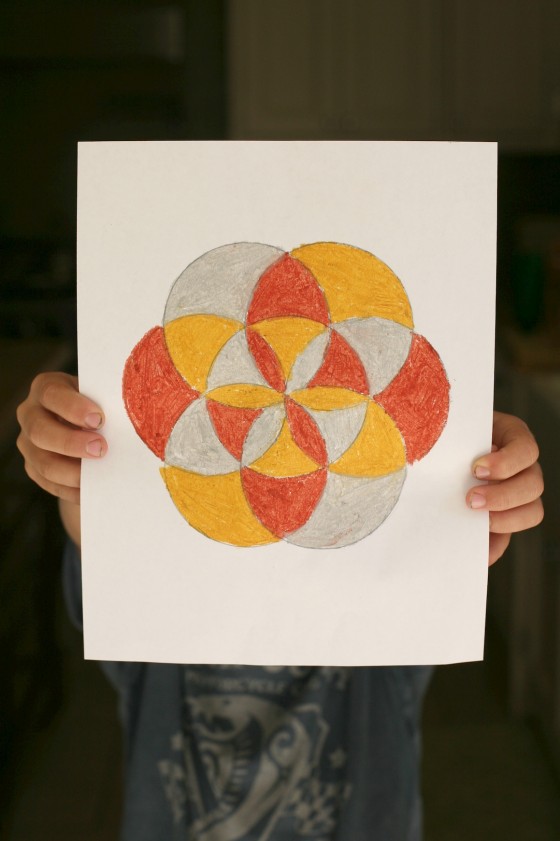
If you’d like to challenge yourself further, you can continue making circles using the intersecting lines as the center of each circle. Or you can go ahead and introduce some color to this geometric design. When choosing your colors, be mindful that the ancient Islamic designs were not very vivid or bold. Instead, they stayed in the same color family. An example of this can be found on the architecture on this building.
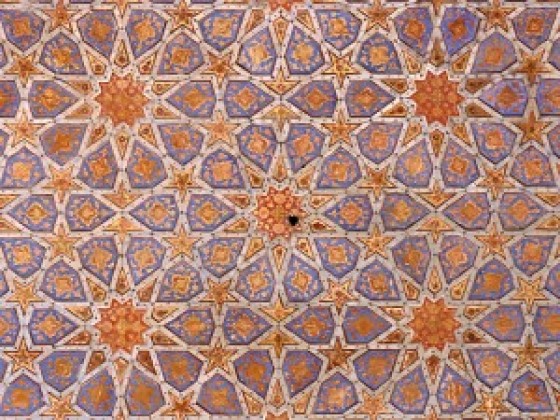
Or this tilework where they used earth tones and light violets.
You can choose 2, 3, or 4 colors and if you’d like to stay true to the Islamic Art from centuries ago try to have them compliment each other, or stick to similar color families. But the choice is all your own.
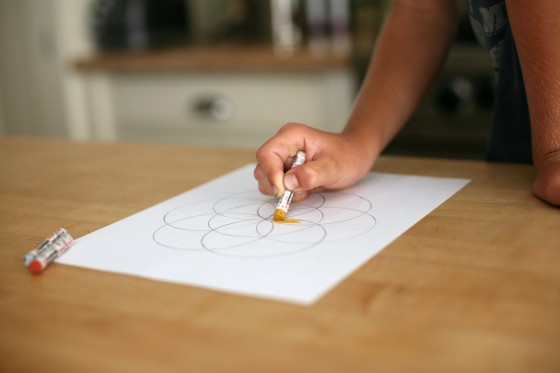
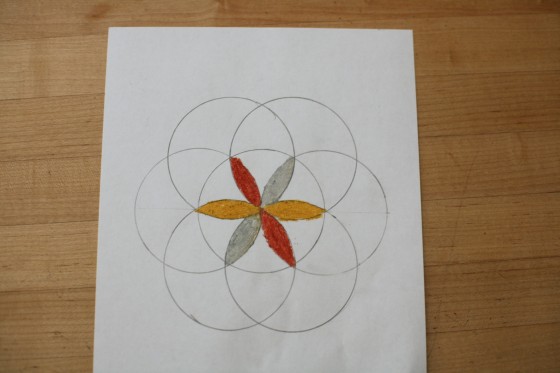
Here is the completed works of a 5th grader.
