Art School | Frida’s Bonito
by Deborah Harju, posted on May 22nd, 2012 in Art School, Arts & Crafts
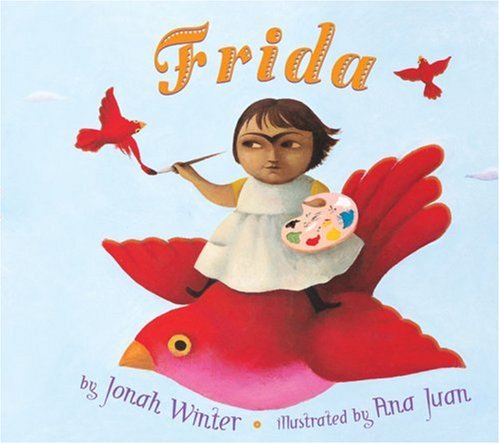
Today’s lesson is inspired by Frida Kahlo’s work and so it is fitting that we begin with a brief background of this famous Mexican painter. Depending on your child’s grade, you can vary the length of the background information. I really like opening by reading the picture book Frida, by Jonah Winter which gives a great story of her difficult childhood and illness. You should be able to check this book out of the local library, or find it on Amazon.
It’s good to stop while reading to highlight the vibrant colors used in the story. Mexican homes and culture love to use bright colors, and Frida uses this in her artwork. You can point out that Frida Kahlo suffered polio at age seven, and was in a terrible bus accident a few years later. These events forever changed her life and she dealt with her pain and sadness through painting. Painting was like breathing for Frida. When she was forced to stay in bed for months, it was painting that helped her continue day after day.
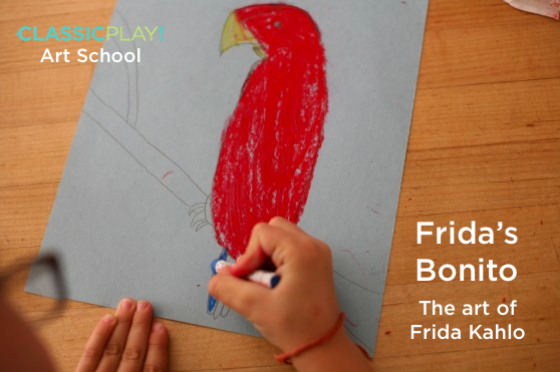
One of the things Frida loved to paint was her parrot Bonito. And that is what we are going to sketch and color in today’s lesson. This is also a great introduction to drawing animals and also proportion.
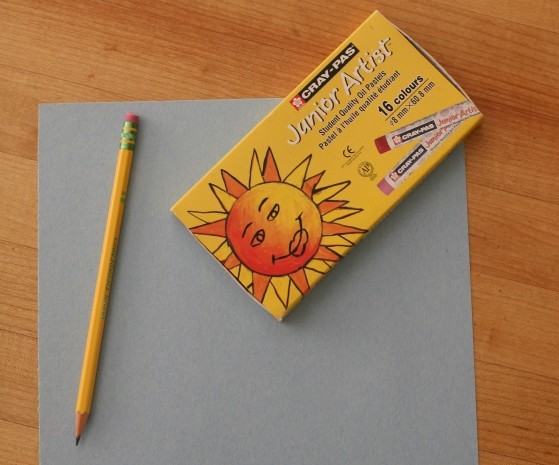
Supplies: blue construction paper, pencil, oil pastels
Oil Pastels are a great medium to use with kids, the end result is a vibrant and vivid picture with great color saturation.
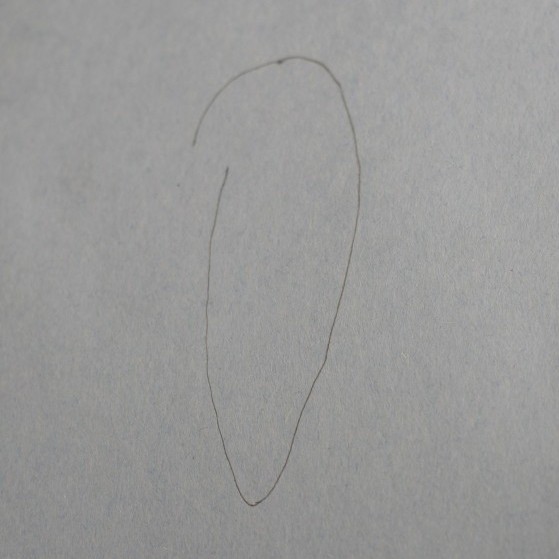
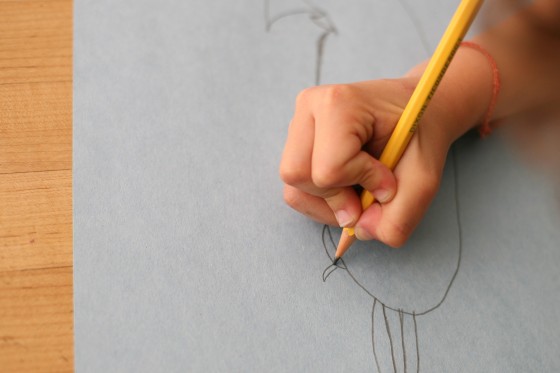
Be sure your child starts with their paper vertical and let them know that the parrot will want to fill up most of the center of the page. We begin with pencil by sketching a line that resembles a leaf pointing down with a nice curve on top that will serve as the parrots head. This may take a few attempts for the shape to look slender and pointed near the bottom and rounded at the top. Since we are starting with pencil, it’s fine if your child erases and starts over a few times.
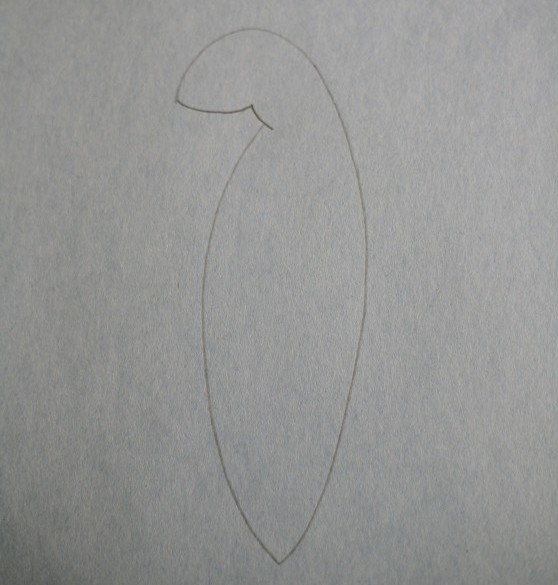
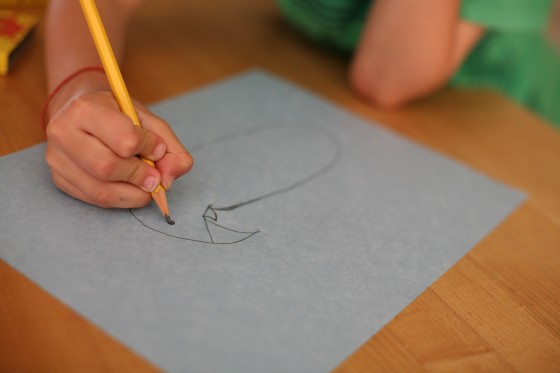
Next have them close off their opening with two lines. This is where the two parts of the parrot’s beak will start from. It should look something similar to this.
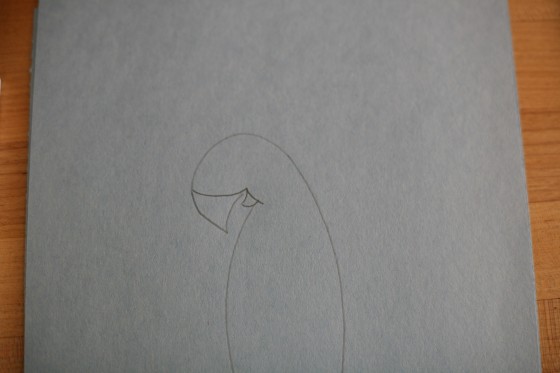
Next, you can draw the two curved lines similar to triangles to make the parrot’s beak. And then follow with a circle for the parrot’s eye.
 )
)
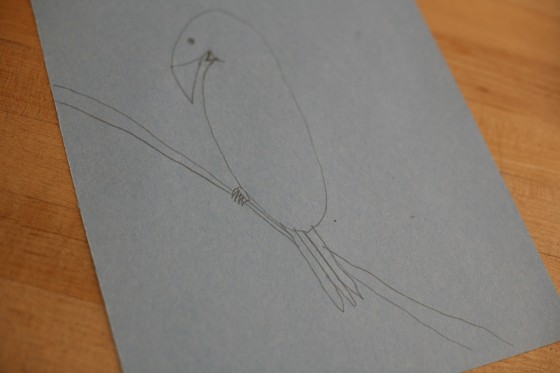
The tail feathers will come next. Have your child draw 3 rectangular or finger like feathers at the bottom of the parrot. The length and size will vary with each child’s artwork.
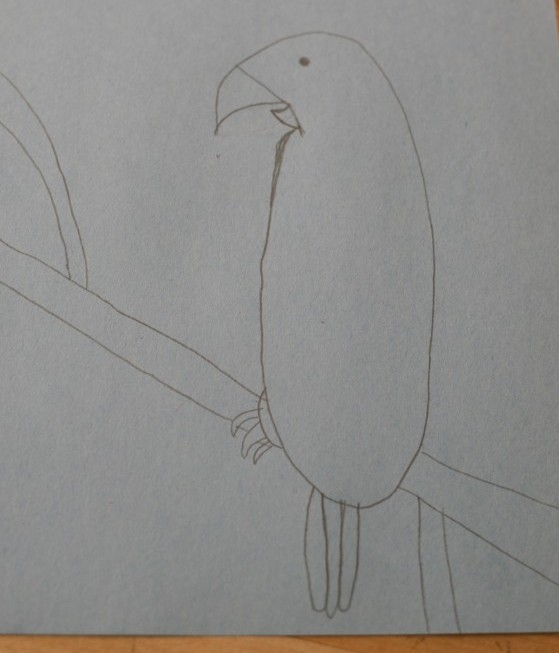
And a small crescent shape near the parrot’s belly for where the feet/claws will be.
Next, will be the branch that the parrot is perched on. The branch can span one side of the paper to the other side, and have smaller branches shooting off if your child prefers.
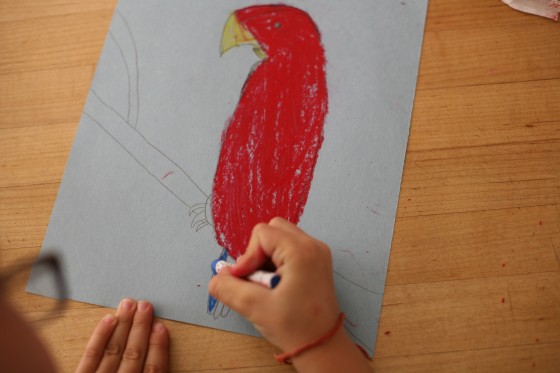
The last step is usually childrens’ most favorite part, using the oil pastels. Bonito was a red parrot, so we chose to use red for the body, but with brightly colored tail feathers. You can discuss the colors they remember from the story or what colors they think they would find on a tropical bird.
For the branch, depending on the child’s grade, you can encourage them to make the branch look like actual wood. Do most branches or wood pieces come in just one single color? Or do they have darker and lighter colors running through? To create an effect similar to real wood they can have lines of darker oil pastels running through the lighter color.
Be sure to emphasize when your child is done, how bright and vivid their picture is, and how much it reflects the colors that Frida Kahlo had around her in her home country of Mexico.
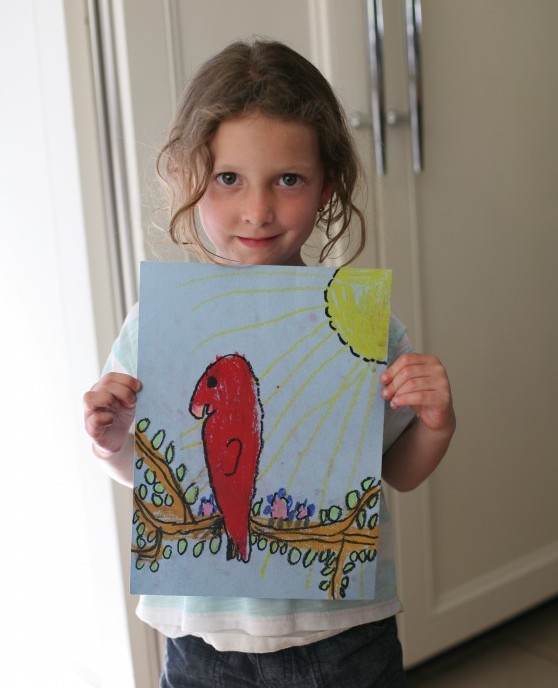
A kindergartener’s version of Bonito. She decided to outline most of her drawing with black oil pastel so it will stand out.
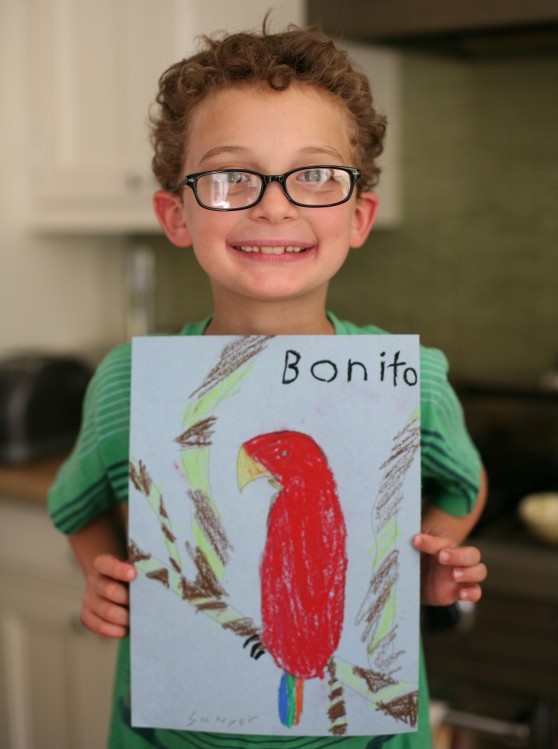
A second grader’s version where he chose to include moss on his branches.
And a 4th grader’s where he was able to incorporate multiple colors of brown to make the branches look realistic.

I hope you and your child enjoyed this trip to Mexico and the discovery of Frida Kahlo’s famous work and life!